Web development
포스팅 박스 만들기
WEB_CREASTORY
2023. 7. 10. 23:26
1. 우선 색깔 박스로 씌우기 >>
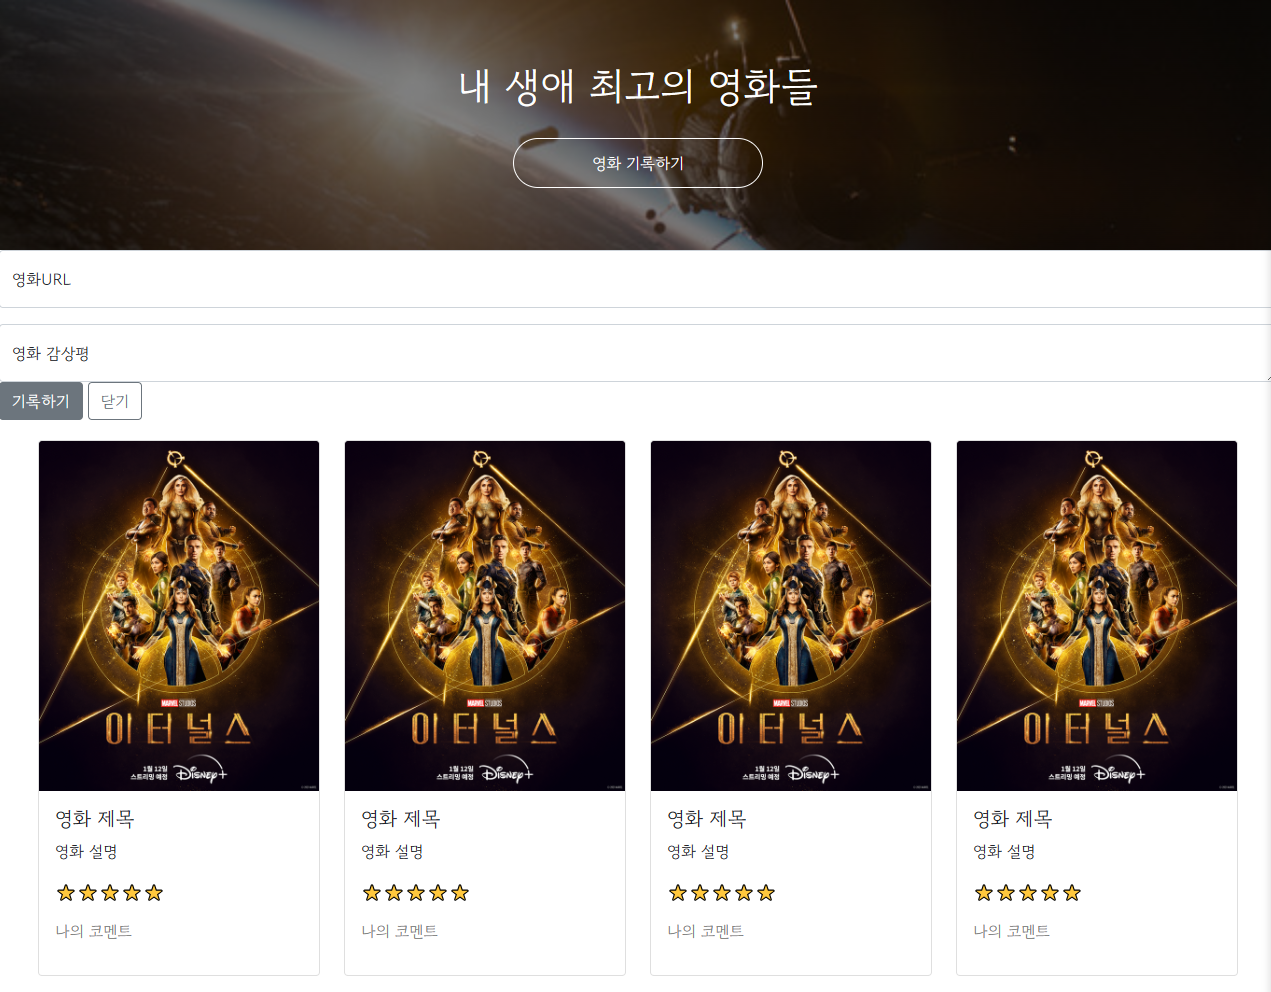
<div class="mypost">
<div class="form-floating mb-3">
<input type="email" class="form-control" id="floatingInput" placeholder="name@example.com">
<label for="floatingInput">영화URL</label>
</div>
<div class="form-floating">
<textarea class="form-control" placeholder="Leave a comment here" id="floatingTextarea"></textarea>
<label for="floatingTextarea">영화 감상평</label>
</div>
<div class="mybtn">
<button type="button" class="btn btn-secondary">기록하기</button>
<button type="button" class="btn btn-outline-secondary">닫기</button>
</div>
</div>
2. 안쪽으로 띄우기: padding: 20px; >> 그림자 효과: box-shadow: 0px 0px 3px 0px gray; > background-color: green; 없애기
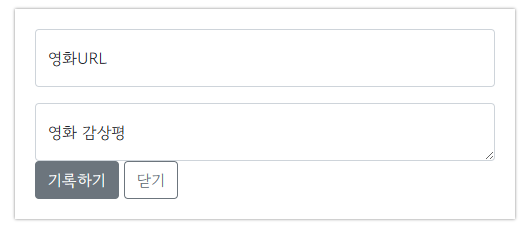
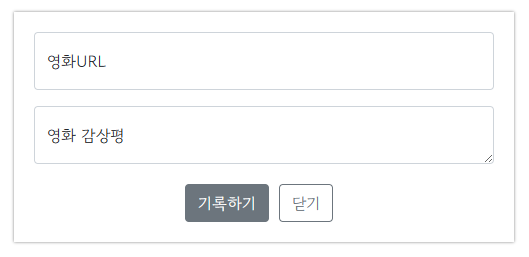
.mypost {
background-color: green;
width: 500px;
margin: 20px auto 20px auto;
padding: 20px 20px 20px 20px;
box-shadow: 0px 0px 3px 0px gray;
}
.mybtn {
display: flex;
flex-direction: row;
align-items: center;
justify-content: center;
margin-top: 20px;
}
.mybtn > button {
margin-right: 10px;
}