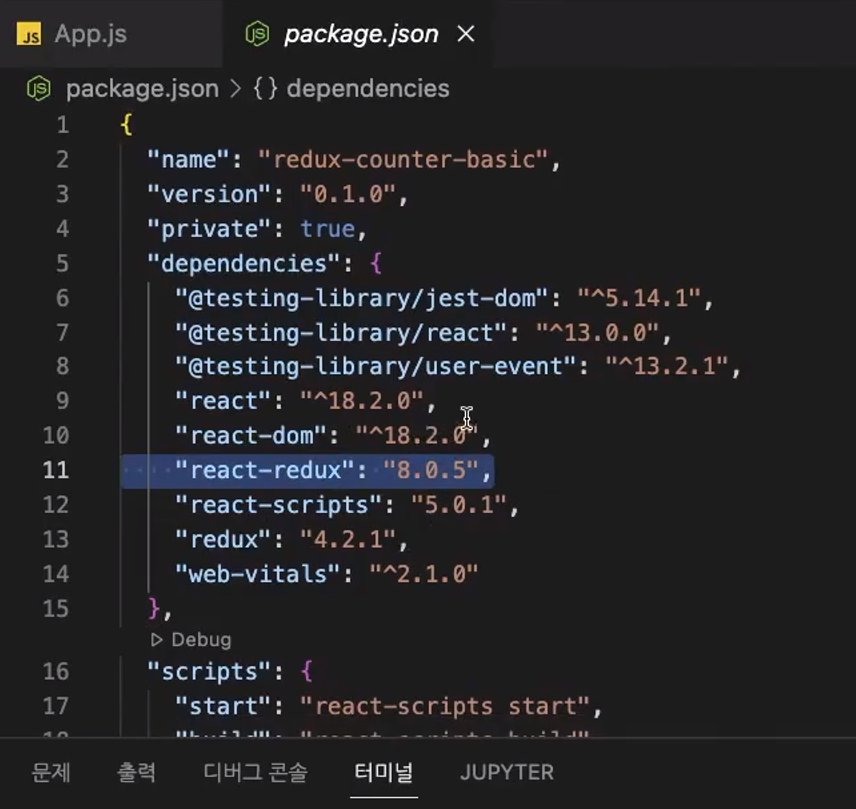
(1) 리덕스 설치

리액트에서 리덕스를 사용하기 위해서는 2개의 패키지를 설치해야 합니다.  vscode 터미널에서 아래 명령어를 입력해서 2개의 패키지를 설치하세요. 참고로 react-redux 라는 패키지는 리덕스를 리액트에서 사용할 수 있도록  서로 연결시켜주는 패키지 입니다.
yarn add redux react-redux

아래와 같은 의미
yarn add redux
yarn add react-redux
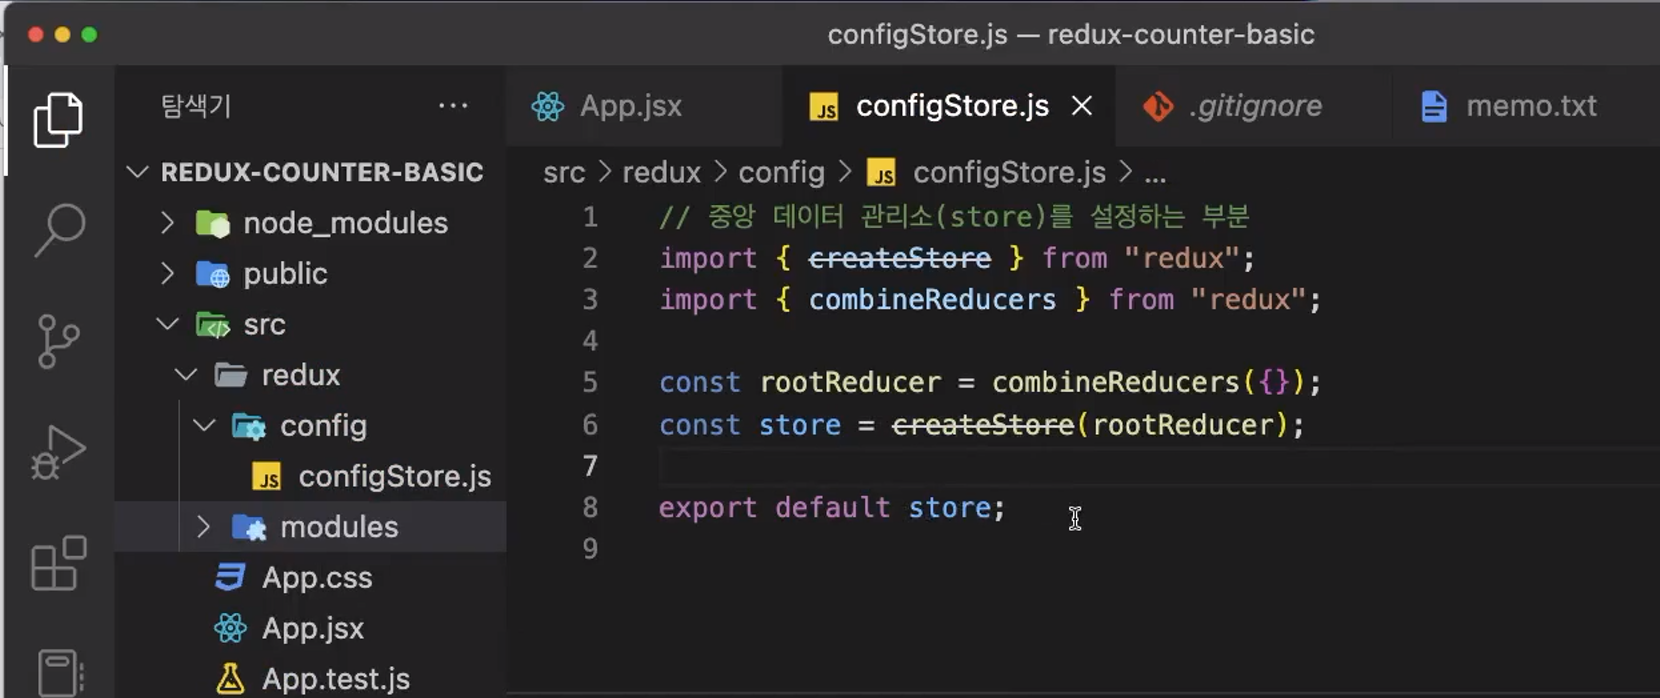
// src/configStore.js 코드
// 중앙 데이터 관리소(store)를 설정하는 부분
import { createStore } from "redux";
import { combineReducers } from "redux";
/*
1. createStore()
리덕스의 가장 핵심이 되는 스토어를 만드는 메소드(함수) 입니다.
리덕스는 단일 스토어로 모든 상태 트리를 관리한다고 설명해 드렸죠?
리덕스를 사용할 시 creatorStore를 호출할 일은 한 번밖에 없을 거예요.
*/
/*
2. combineReducers()
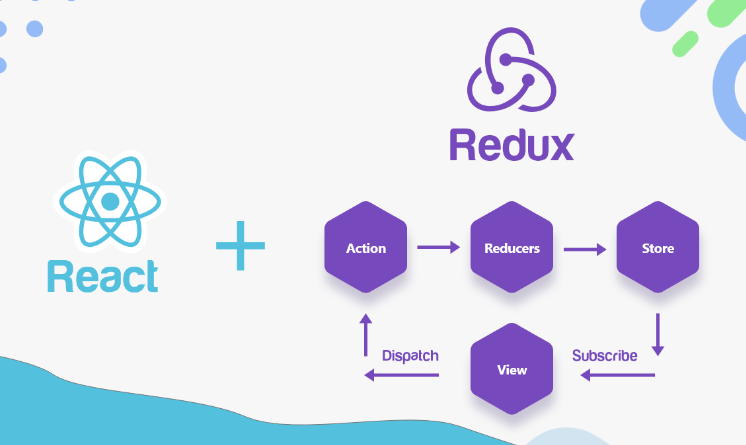
리덕스는 action —> dispatch —> reducer 순으로 동작한다고 말씀드렸죠?
이때 애플리케이션이 복잡해지게 되면 reducer 부분을 여러 개로 나눠야 하는 경우가 발생합니다.
combineReducers은 여러 개의 독립적인 reducer의 반환 값을 하나의 상태 객체로 만들어줍니다.
*/
const rootReducer = combineReducers({});
const store = createStore(rootReducer);
export default store;
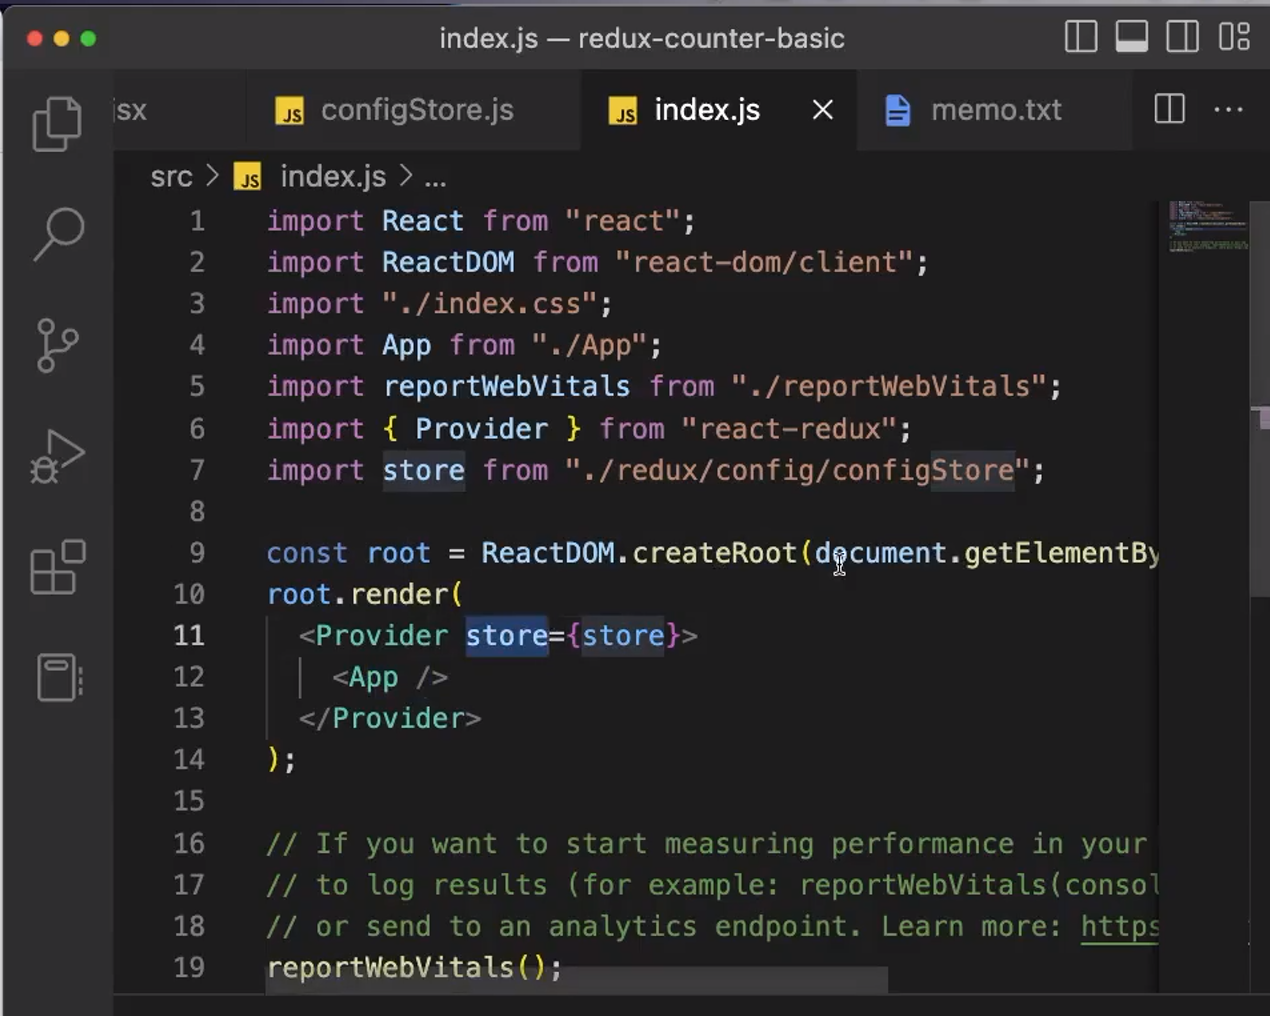
// index.js
디렉토리의 가장 최상단에 있는 index.js에 아래 내용을 입력하세요.

// 원래부터 있던 코드
import React from "react";
import ReactDOM from "react-dom/client";
import App from "./App";
import reportWebVitals from "./reportWebVitals";

// 우리가 추가할 코드
import { Provider } from "react-redux";
import store from "./redux/config/configStore"; // {}중괄호 없이 store 가져오기

const root = ReactDOM.createRoot(document.getElementById("root"));
root.render(

// 우리가 수정할 코드 : App을 Provider로 감싸주고,
// configStore에서 export default 한 store를 넣어줍니다.

  <Provider store={store}>
    <App />
  </Provider>
);

// If you want to start measuring performance in your app, pass a function
// to log results (for example: reportWebVitals(console.log))
// or send to an analytics endpoint. Learn more: https://bit.ly/CRA-vitals
reportWebVitals();
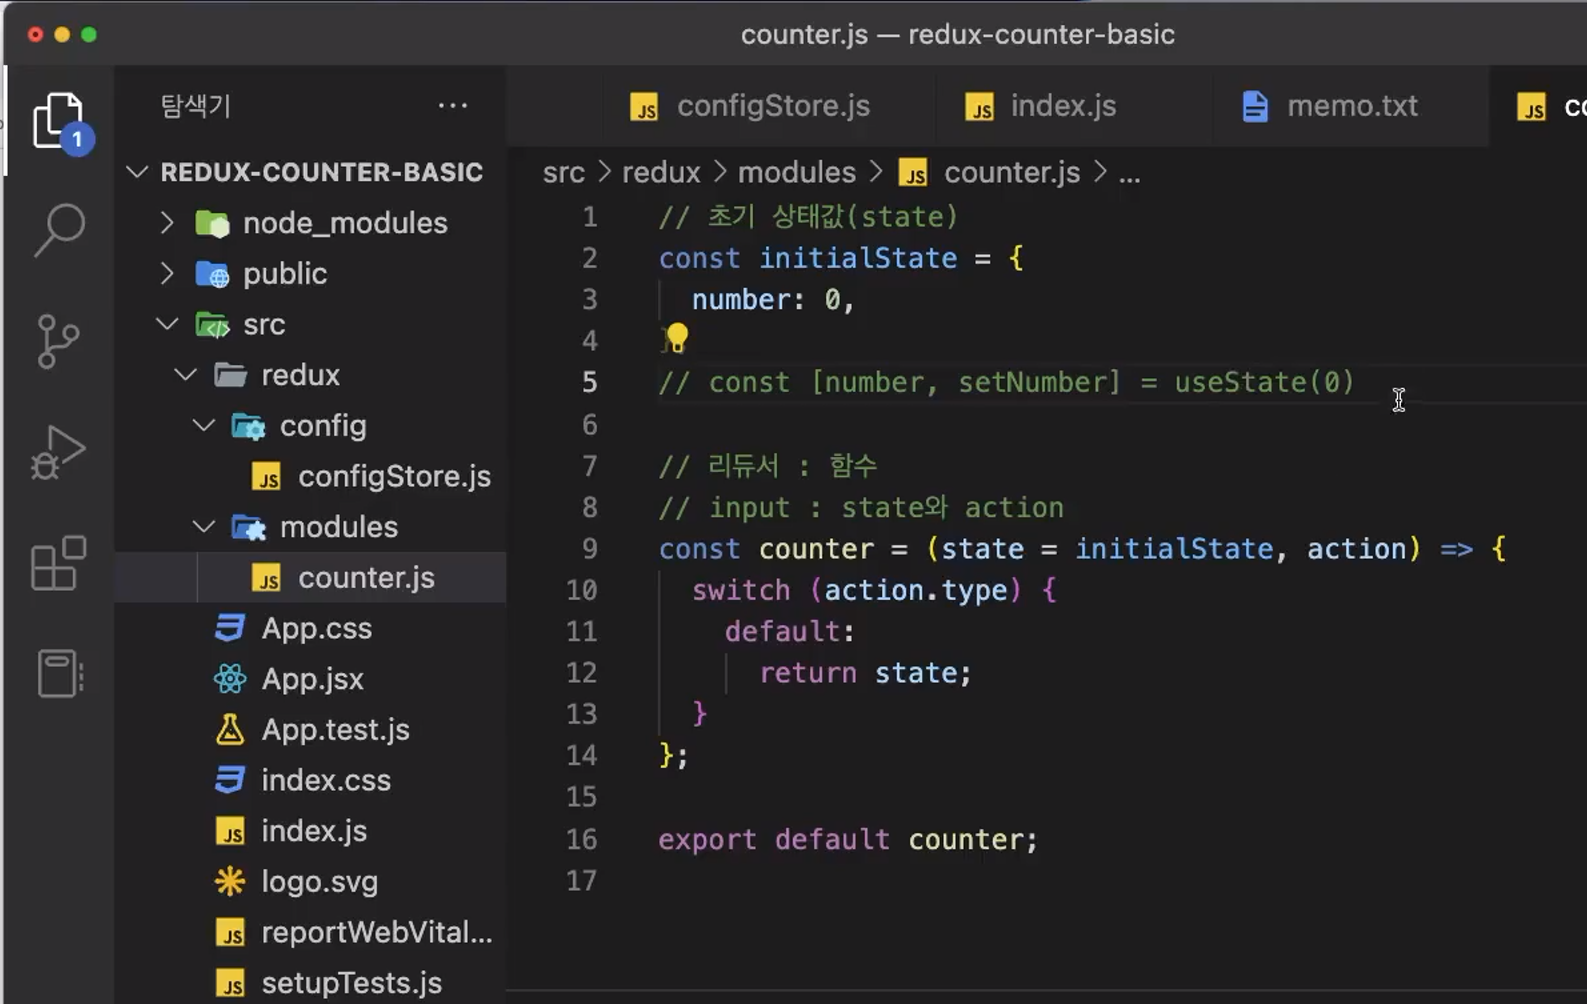
// src/redux/modules/counter.js
// 첫 모듈 만들기
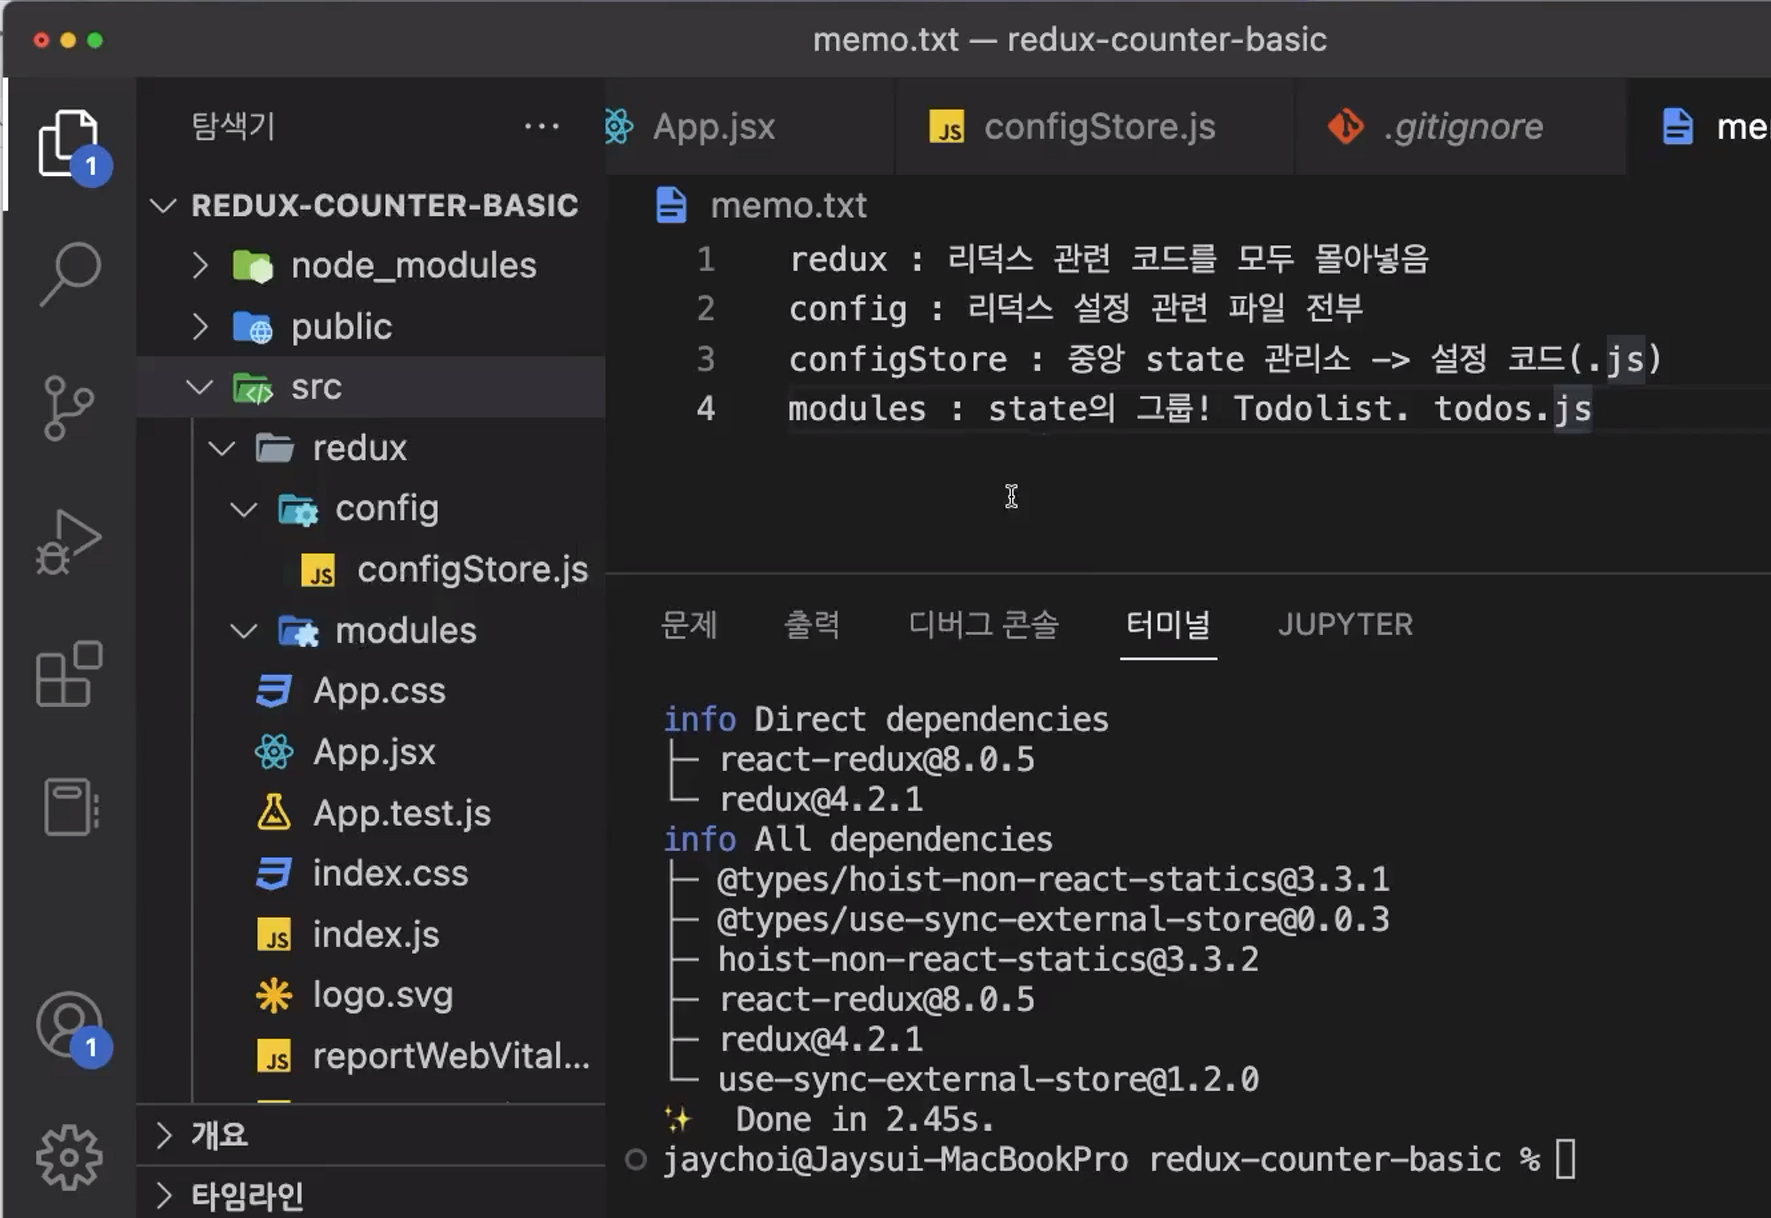
모듈이란, State의 그룹이라고 했습니다. 우리의 첫 모듈은 카운터 프로그램에 필요한 State들이 모여있는 모듈이 될 것 입니다. 아래 순서대로 파일을 생성하고 코드를 입력해볼까요?
modules 폴더에 counter.js 파일을 생성한다.
코드를 작성한다.
// 사용 방법에만 중점을 둘 것(왜 이런 원리인지 너무 깊게 이해하려고 하지 말 것!)
// 초기 상태값(state)
const initialState = {
number: 0,
};
// 리듀서: 'state에 변화를 일으키는 함수'
// (1) state를 action의 type에 따라 변경하는 함수
//
// input : state와 action
const counter = (state = initialState, action) => {
switch (action.type) {
default:
return state;
}
};
// 모듈파일에서는 리듀서를 export default 한다.
export default counter;
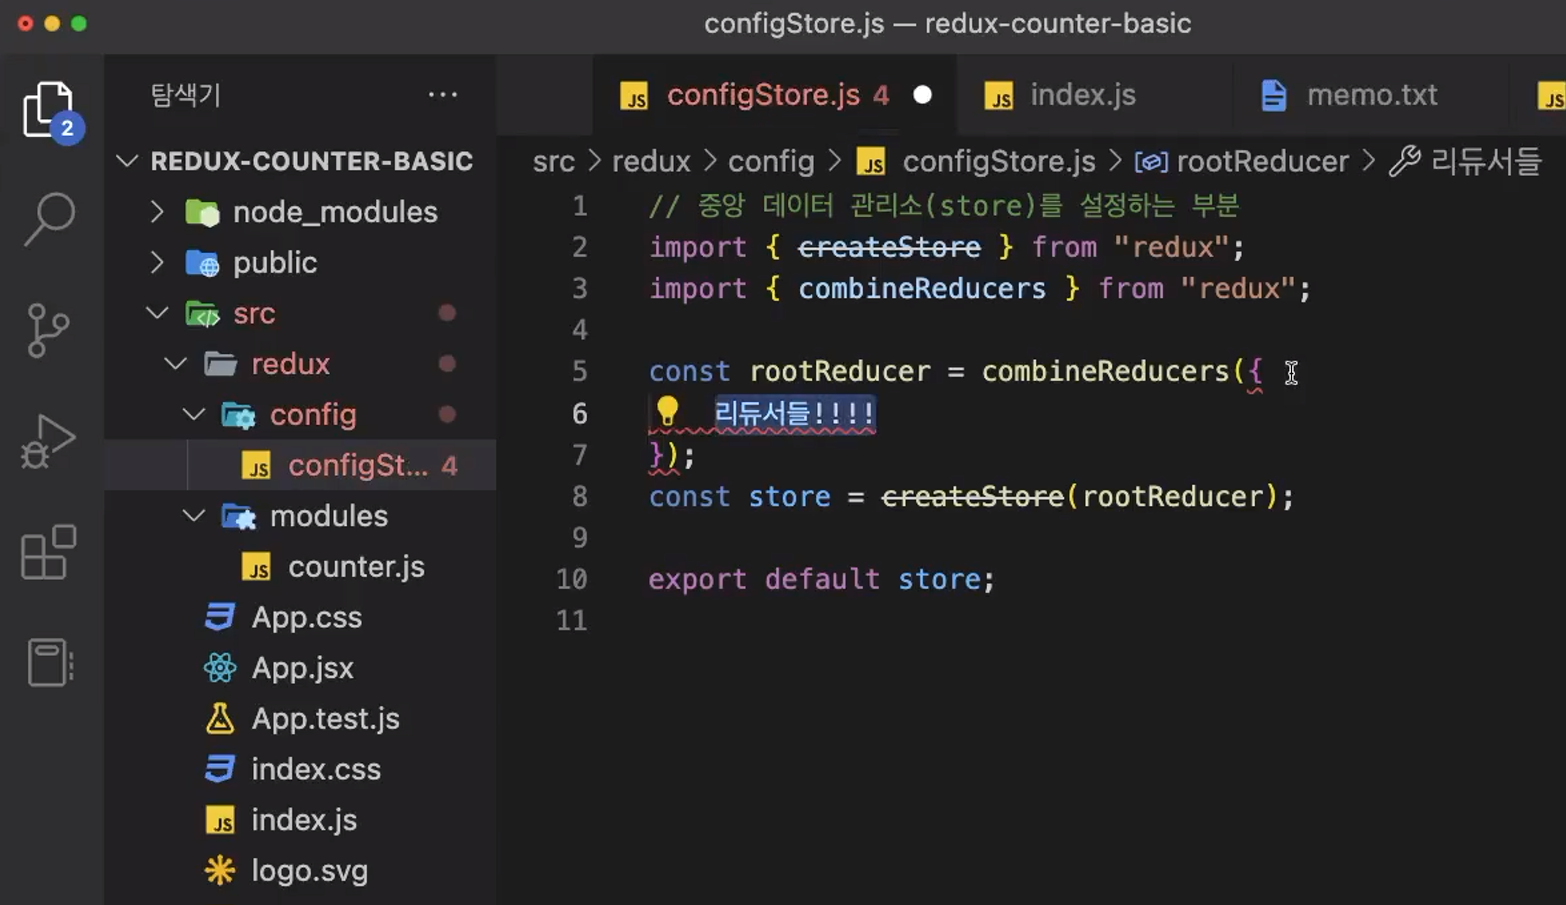
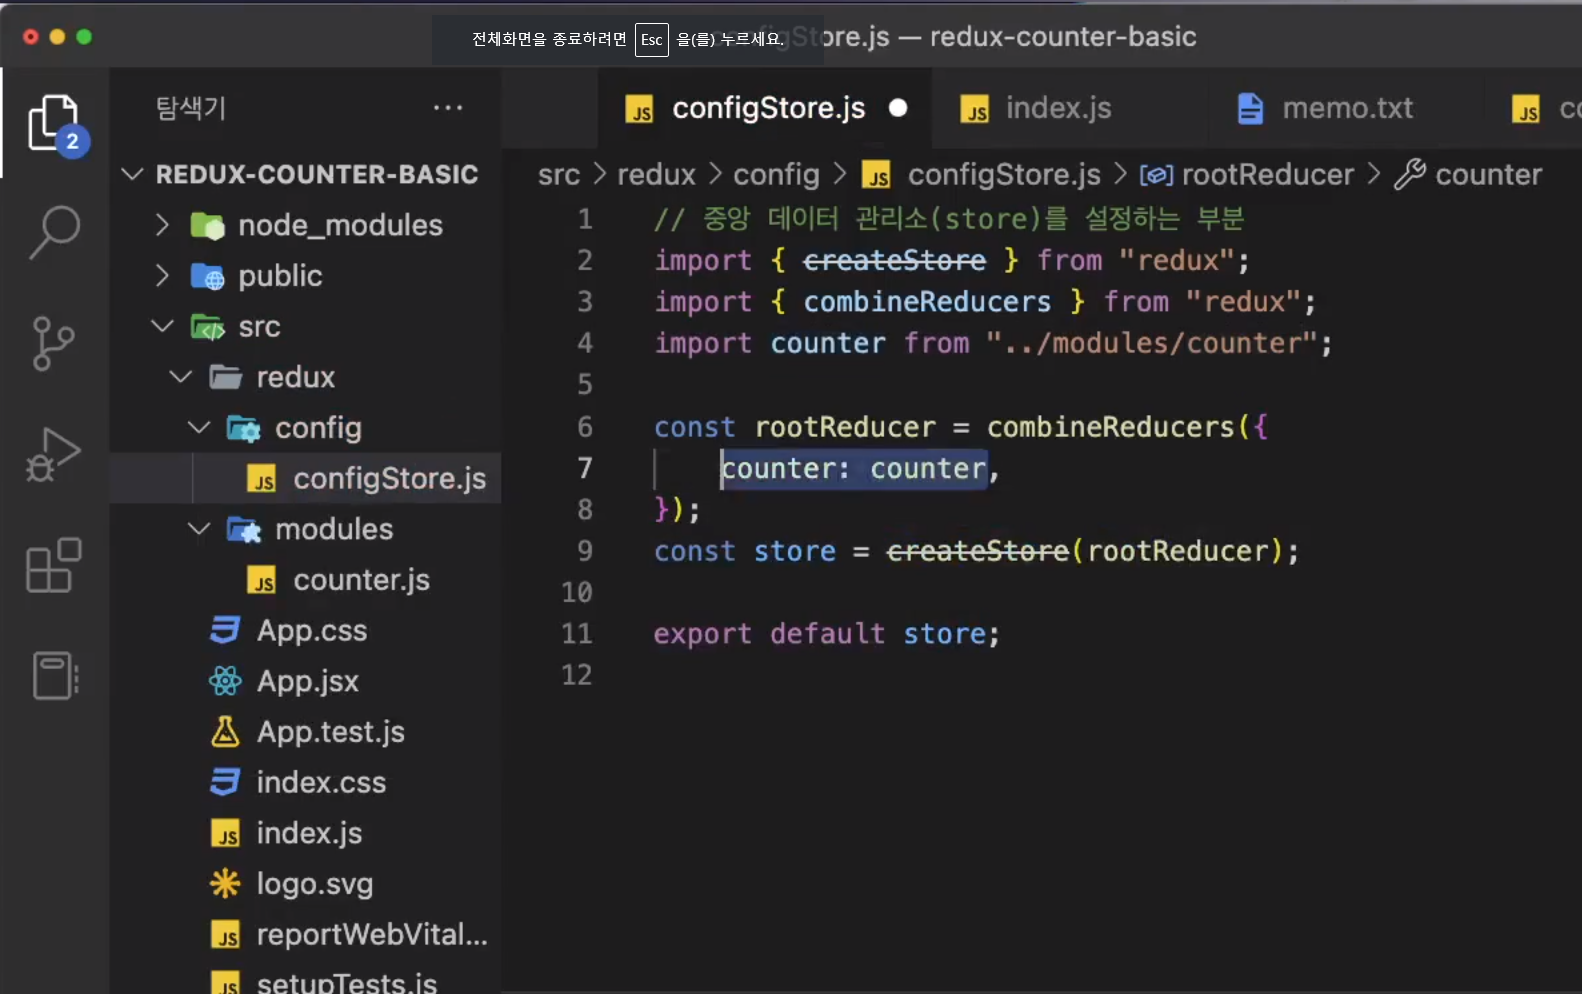
configStore.js로 이동해서 아래 코드를 추가해주세요.
// src/redux/config/configStore.js
//  카운터 모듈을 스토어에 연결하기


// 원래 있던 코드
import { createStore } from "redux";
import { combineReducers } from "redux";

// 새롭게 추가한 부분
import counter from "../modules/counter";

const rootReducer = combineReducers({
  counter: counter, // <-- 새롭게 추가한 부분
});
const store = createStore(rootReducer);

export default store;
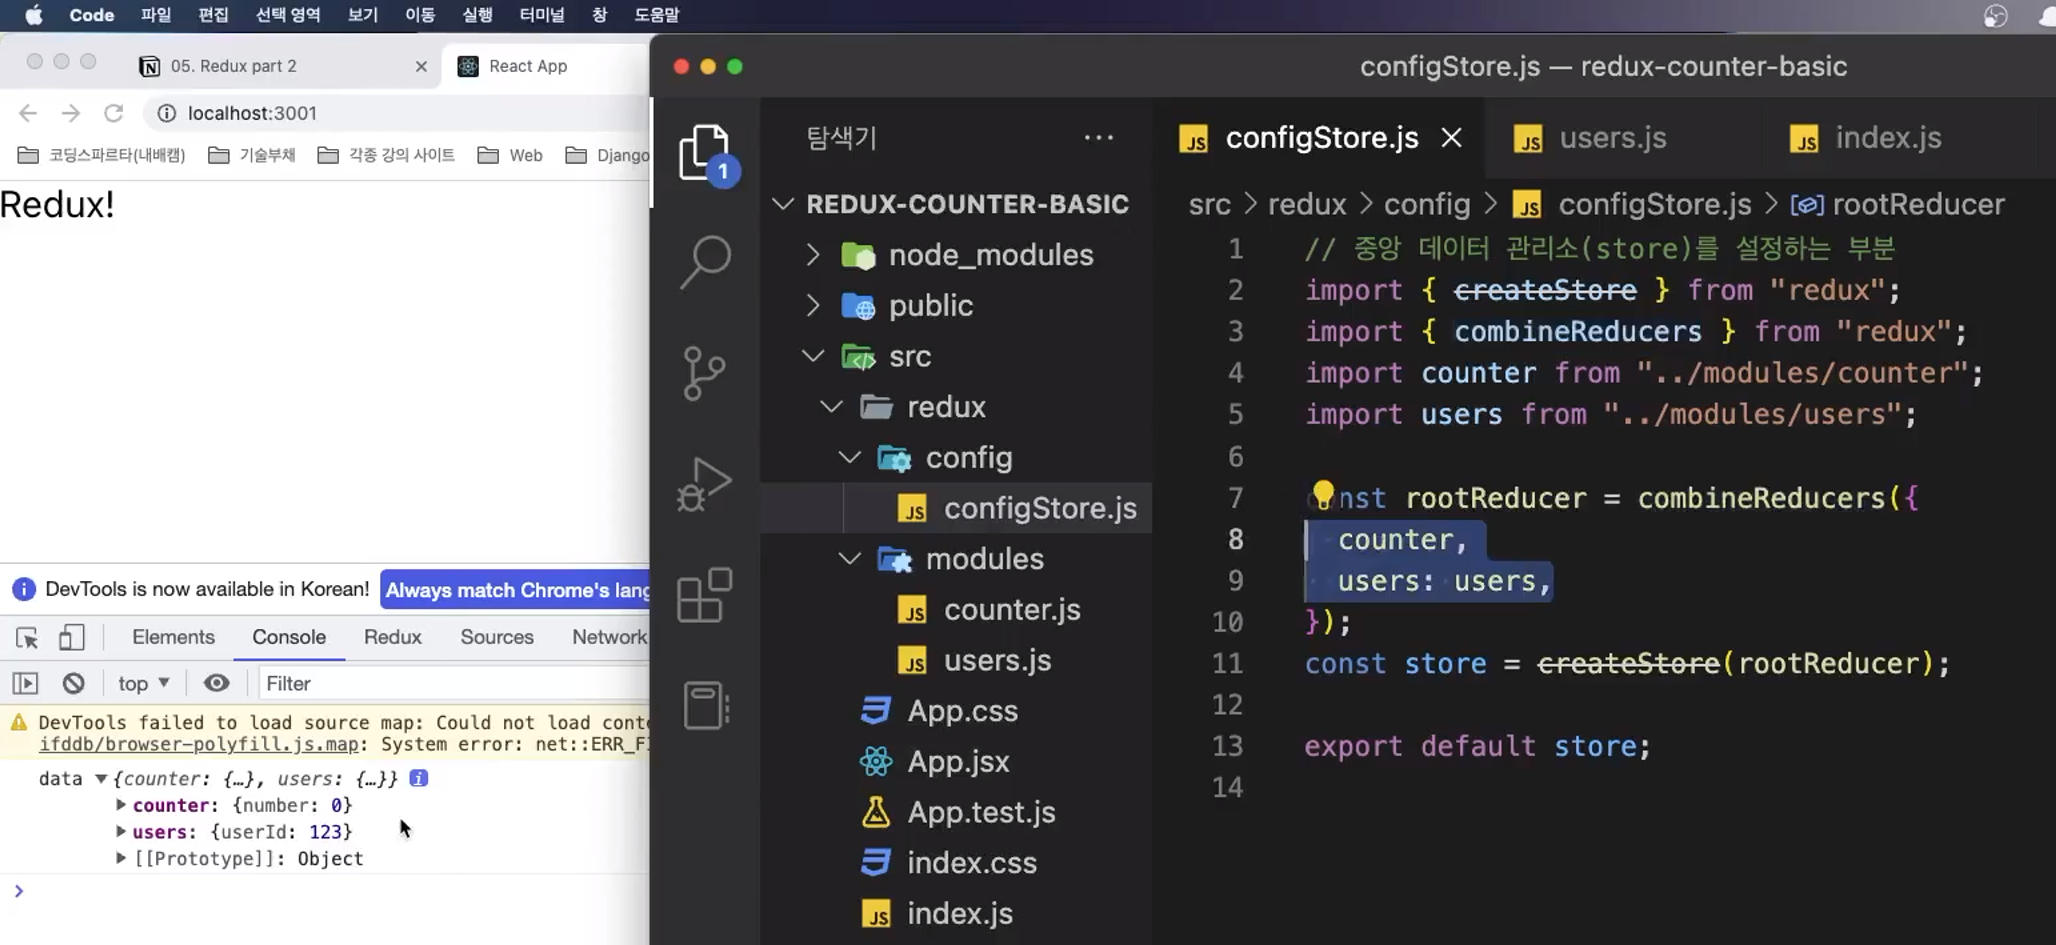
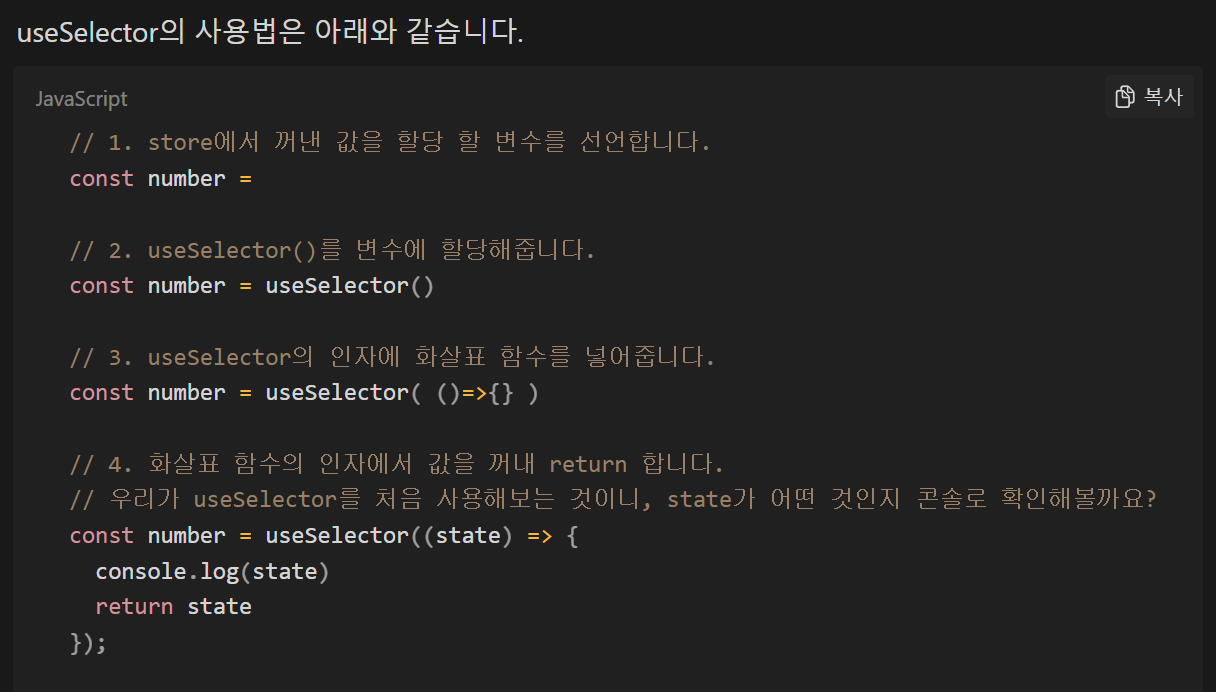
우리는 컴포넌트에서 스토어를 조회할 때
react-redux에서 제공하는 useSelector 라는 훅을 사용합니다. (너무너무 중요 🔥)
App.js 컴포넌트로 이동해서 기존에 있던  코드를 모두 지우고, 아래 코드를 입력해주세요.

// src/App.js

import React from "react";
import { useSelector } from "react-redux"; // import 해주세요.

const App = () => {
  const counterStore = useSelector((state) => state); // 추가해주세요.
  console.log(counterStore); // 스토어를 조회해볼까요?

  return <div></div>;
}

export default App;